When the owner of this home contacted us for help with her photo frame and artifact collage project, that she has been longing to complete for two whole years, we of course said yes! We wanted to give her the perfect creation she’s been waiting so long to see on her large landing wall and we think these projects are super fun! This particular home owner wanted to create a collage that was linear and symmetrical around the perimeter and random in the centre. Her collage wall was on her stairs landing, but if you wanted to create a college on the actual stairs wall, it wouldn’t necessary be so linear but rather appear to be stepping up the wall in a more random fashion. Collage walls can be great fun and can really allow you to tap into your creativity and explore as there are really no wrong layouts. However, like most projects there are a few guidelines we recommend you follow, as we’ve explained below, but the possibilities are endless!
STEP 1…Preparation Plan
This is probably your most crucial step and should take you the most amount of time. All of your measurements and starting points for hanging will come from this plan. First things first, take a width measurement of your wall and keep this figure in mind when creating the shape of your collage. Will it be a portrait or landscape rectangle or a perfect square? (The shape of the wall should pretty much determine this for you). You will need to leave an adequate 6″-12″ gap around the edge of the collage and the wall, depending on the size of your wall, so add this into your equation too. Pick a floor space in your home that is large enough to lay out all of your photo frames and artifacts, preferably close to your collage wall to save moving everything too far. Decide which piece is the most important to get right and this will be your starting piece. It could be the largest, or the most unique shaped or just the most important photo to you. In this case, it was the mirror. Deciding whether to hang the mirror in a spot where it can actually be used or to just randomly place it in the middle to reflect light, needed to be determined first. The home owner decided that they would like to be able to use the mirror and so it needed to be hung on the lowest row of the collage to allow the family to see into it. Placing it in the bottom left corner made the most sense on this wall as it was directly at the top of the first flight of stairs. Now we had our starting point! From here we laid out the rest of the frames first and the artifacts last, applying a little bit of logic (but not too much), i.e. keeping the two up-close portrait photos of her children in the centre and symmetical to the mid-point, placing the ‘W’ for their family surname in the centre as the basis and purpose of the whole collage and leaving a 1.5″ gap in between each frame where possible. The secret is to have a good mix of both portrait and landscape frames, as when you start to place them you’ll find that gaps for artifacts will start to appear and make sense.
STEP 2…Map your plan
Before you can start to hang, we recommend you take a photo of the layout and draw yourself a diagram, including the artifacts, just in case you get half way through the hanging process and loose your place. On your diagram, write down the measurement of the overall size of the whole collage vertically and horizontally, ensuring that your frames are accurately laid out 1-2″ apart as this will effect your overall measurements. Now we have the map and all the measurements, the hanging can begin!
STEP 3…Hanging time!
You’re now going to draw a box on the wall as your overall guideline. With a pencil, mark on the wall the centre point of the width of the wall, on the approximate base line of where you would like your lowest pieces to hang. If you need to get an idea of this first, simply hold up a piece from the bottom row of your college and mark it at the base. Then, using a tape measure, make small marks at the total width of the collage that you measured, making sure that you have divided that number into 2 so that you can accurately place your tape measure on the centre point of the wall you just determined. For example, this collage was 57.5″ wide so we placed 28.75″ on the tape measure on the centre point of the wall. Using a level, join these marks to draw a horizontal line. On both sides of the horizontal line you can now draw the vertical measurement lines using a level, and close it in on the top to form a box. The starting piece you decided in the preparation plan will obviously be the first piece you hang. Whether it’s the bottom left corner, or the top left corner or directly in the middle make sure this piece is exactly right as everything else will be based from this. Follow your diagram step by step and it should turn out exactly as planned. Three simple steps to one amazing statement wall!
FYI…the home owner will be adding a ‘FAMILY’ sign in the gap marked with a red ci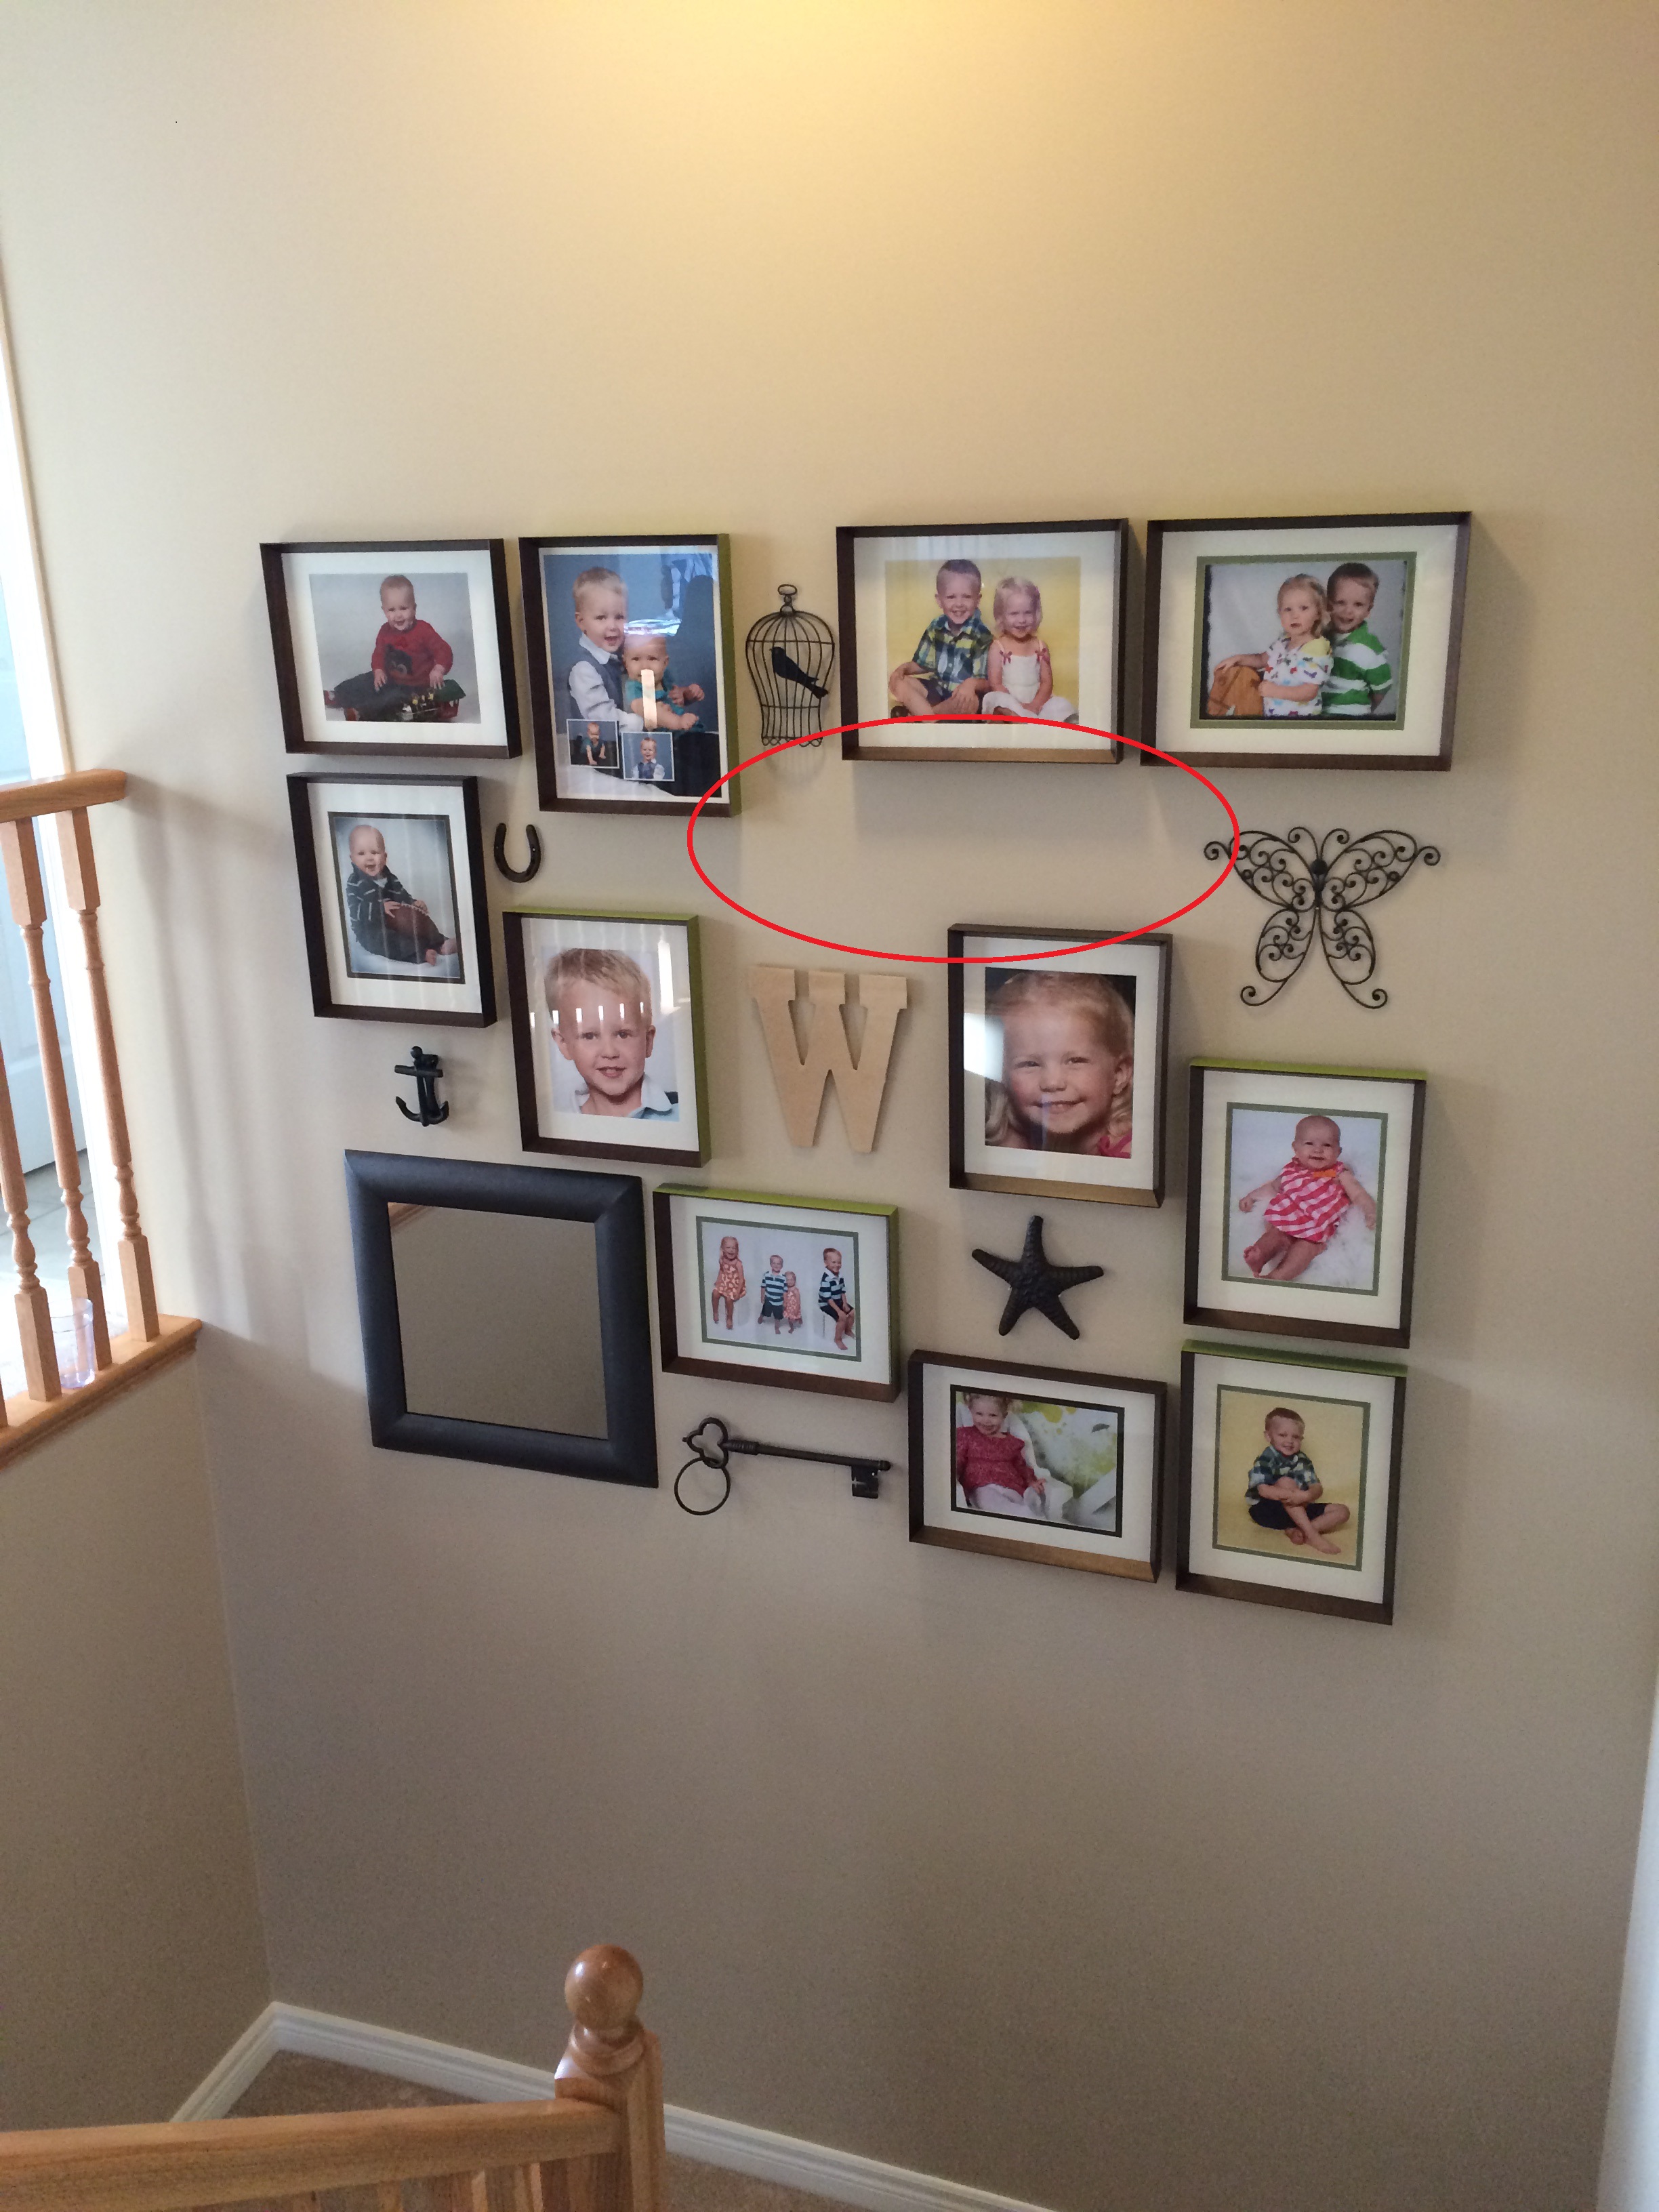 rcle to complete the look.